Showing posts with label wood. Show all posts

Wednesday, December 23, 2009

Ice Blue Interiors

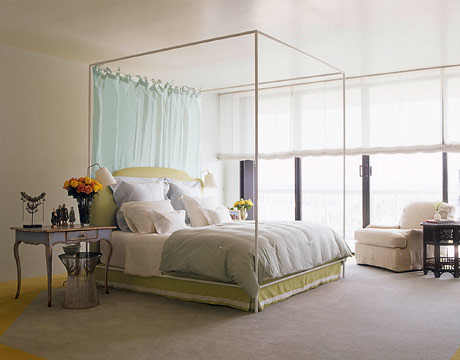
I love clean white spaces with a touch of Icy blue.  They are gorgeous, simple, and fun, all at the same time!  Here are a few of my favorites saved in my inspiration folder.


Dreamy white bedroom: Vincente Wolf's Palm Beach makeover + modern four-poster + 'Patriotic White' by Benjamin Moore{From House Beautiful}


I'm loving the overall neutral feel of this room paired with hints of ice blue and apple green!


Serene neutral paint: Taupe dining room + sky blue ceiling{Picture from Domino Magazine (now retired)}


This room also feels pretty neutral, but the ceiling is fabulous.  LOVE it!


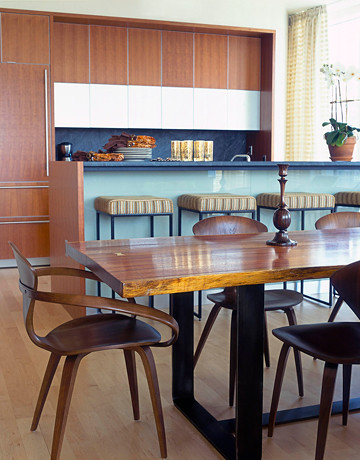
Warm + modern, blue + brown: Norman Cherner chairs + beautiful maple dining table


{Beautiful interior Residence from designer Eric Cohler}


Oh my!  Love the warm wood tones and blue back painted glass bar.  Absolutely gorgeous!


erin_sig

Friday, August 21, 2009

DIY Wall Decor

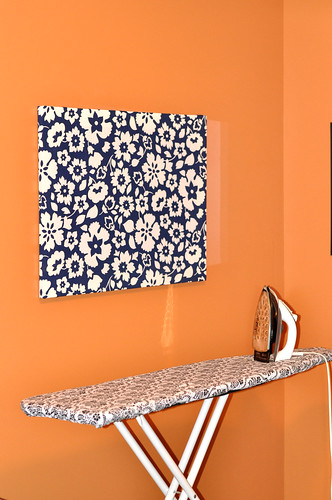
DIY wall art


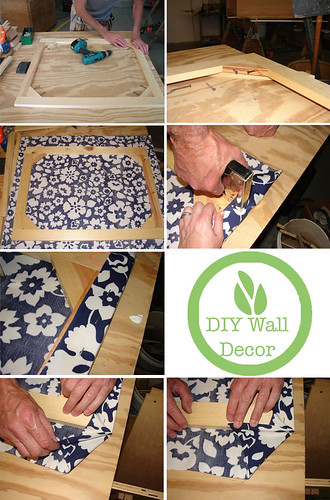
Need a quick and easy piece of wall art?  {And inexpensive too!}  Here are the step by step instructions:  


Materials needed:


  • Piece of large scale fabric- with a large scale print {(mine was about 40" x 44"}


  • Heavy duty Stapler


  • 4 pieces of wood and a drill {or buy the regular canvas stretcher bars like these - you can find them at most art supply stores}


DIY Wall decor


Step by Step instructions:

  1. Put your wooden frame together.  We used a drill to place triangle braces on the corners of the frame.  If you are using canvas stretcher bars instead, they will interlock and the only tool you will need for this project is a heavy duty stapler.

  2. Lay the fabric face down with the frame on top {make sure you iron it first}.  Position the fabric and make sure it's straight before you start stapling.  Allow for a couple inches of fabrics on each side of the frame.  {My frame ended up being 32"x 36"}.  Pull the fabric up and over your frame and start stapling. 

  3. For the corners, I wrapped it like a present.  Before I stapled it down, I made sure it looked okay from the front.

  4. Attach a picture hanger on the back, and it's ready to hang.


The cost of this project is very minimal, and it's a very easy wall decor project.  Now I have something fun to look at when I'm ironing.

deb_sig

Thursday, July 30, 2009

Ikea Inspiration

Have you seen the new Ikea catalog yet?  Here are some of my favorite images:

Ikea Faves


I Love, Love, Love the black and white "frame" around the door and how it contrasts with that green wall!  I think I could actually have a green wall in my home!

Ikea Faves


This kitchen doesn't even look like IKEA to me.  Love the contrast of dark wood and light floor and countertop finishes.  So clean and classy!


erin_sig


P.S. Have you entered our current design challenge yet?   You can win a 5' x 7' area rug from FLOR!

Tuesday, July 21, 2009

Bathroom Makeover

Bathroom redesign


Isn't this redesigned bathroom just breath taking?  Diane Hamilton of Hamilton Concepts remodeled this bathroom.  I wonder if I asked the owners if I could take a quick bubble bath if they would mind.  Great job, Diane!


deb_sig

Friday, May 15, 2009

What about dark walls?

Do you ever wonder if people paint their walls in dark colors?  I've seen some great rooms and some not so great rooms with dark paint.  Below is a sneak peak of Enormous Champions dining room!  I love the darker color on the wall!  You'd think that it would overpower the space, but the room still feels so light and airy!  The wood tones help to warm up the space as well!


enormcham


It almost makes me want to try a darker color on my own walls!  What about you?  Would you try a darker color after seeing this picture?


erin_sig

Thursday, May 07, 2009

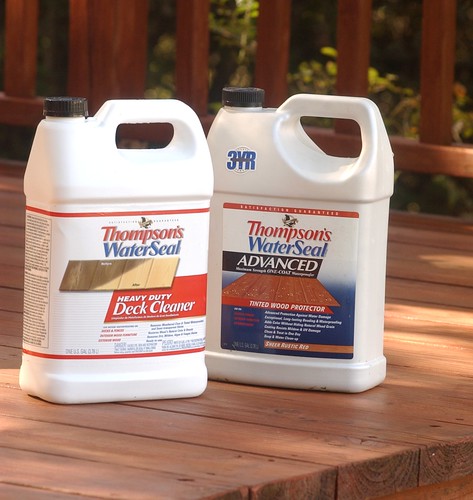
Giveaway- Thompson Deck Cleaner & Wood Protector

Deck redo


Remember this beautiful deck?  Well, now you have the chance to do your own!  Thompson is giving away one case of their Heavy Duty Deck Cleaner and one case of their Water Seal Advanced Wood Protector. A giveaway valued at $120!

Thompson's Water Seal


To enter, leave a comment on this post before Wednesday, May 13th, 2009 by midnight CST.  Want additional chances to win?

  1. Blog about this post and leave another comment below letting us know about it.

  2. Tweet about it and be sure to include @freshnestdesign in your tweet so we know about it.


The winner will be chosen randomly using a random number generator.  We will announce the winner on Thursday, May 14th.

Tuesday, May 05, 2009

A Pear For You

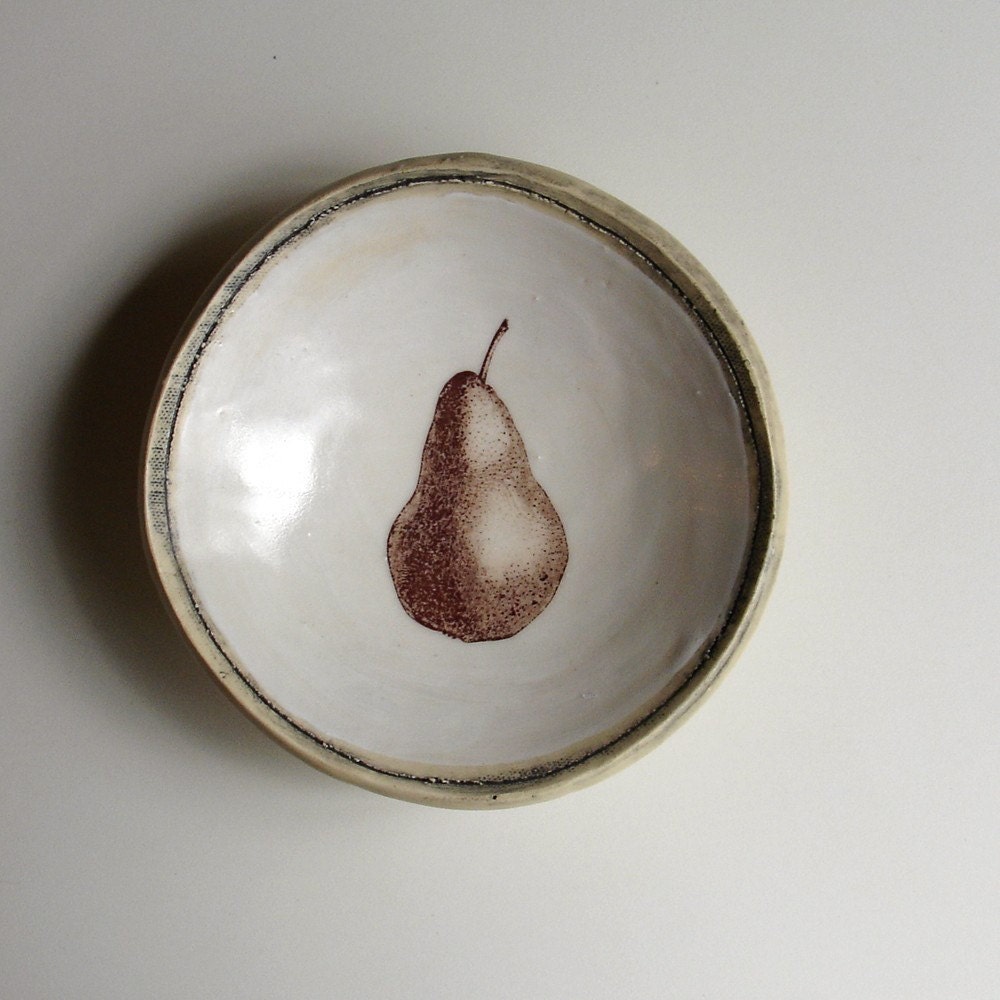
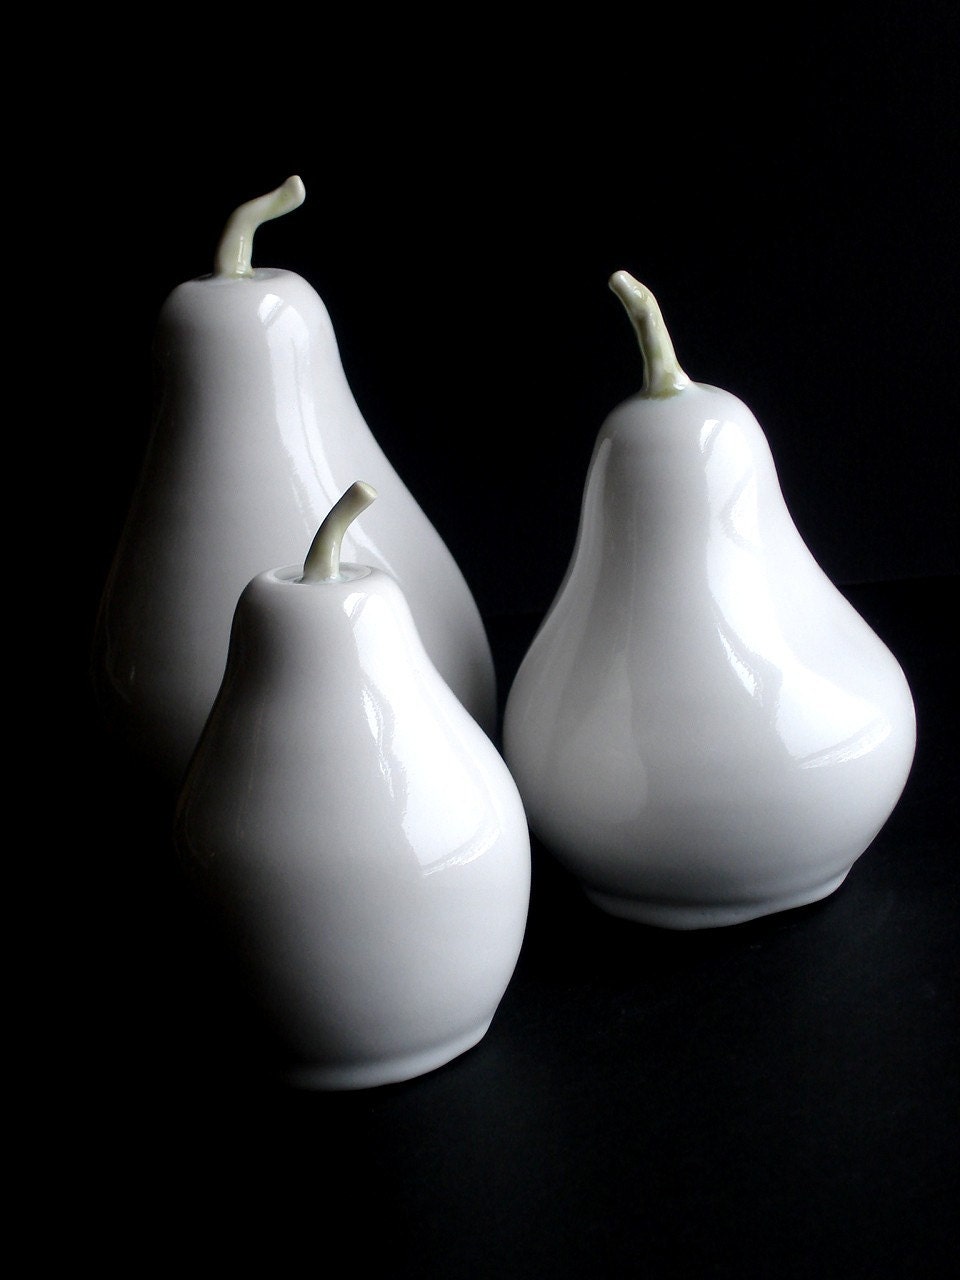
I've seen tons of pear themed decor lately.  Just in time for summer!  Here's a few of the highlights I've found:


Pear Bowl from Etsy seller Gone To Pot Texas


Vintage Wooden Pear and Apple from Etsy seller My Name Is Rochelle


Hand made Porcelain Pear Set from Etsy seller New Moon Studio


Aren't they just delicious?


erin_sig

Thursday, April 30, 2009

Staining and Sealing your Deck- DIY

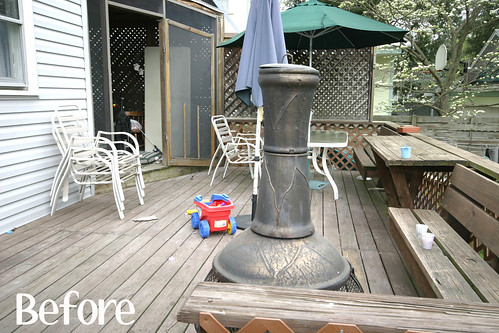
Deck redo- before


We just loving seeing what other people are doing to help each other out.  Jeff Wison assisted a family in his community by helping them redo their deck which was in dire need of help.  We asked Jeff to share what he did to get the final product.  
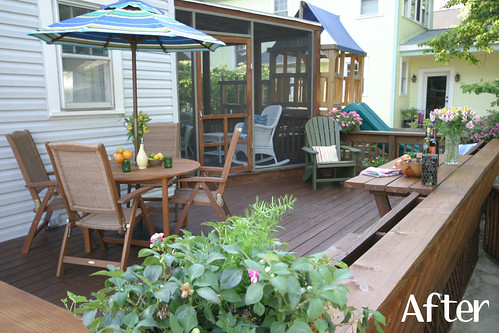
 

Deck redo


The deck is about 12’ x 24’ and Jeff tore out the old lattice & rotted wood., The rotting was happening since the deck wasn't being protected from water damage.  Repeated wetting/drying cycles (and freeze/thaw cycles in the winter) caused cracks in wood that can’t be repaired. 
 
Jeff started replacing what we removed.  Where the “privacy” lattice had been, he put in a standard height railing, matching the top rails to the rest of the project.  With the top rails, deck and step boards, benches and table boards replaced, he cut the 100 or so 2x2 balusters which would be replacing the ineffective lattice.  He cut the balusters to match the style of the little fence just below the deck, so the two structures would complement each other when we were finished.  The owners of the home applied the Thompson’s Water Seal Advanced Wood Protector in Nutmeg Brown to all of the balusters after he cut them, and they were set aside to dry.
 
Next, Jeff applied Thompson’s Water Seal Heavy Duty Deck Cleaner with a plastic pump up garden sprayer, let it sit for ten minutes, and worked it in with a stiff bristled brush.  Then it was rinsed well with an electric pressure washer.  The electric pressure washer had plenty of pressure to do the job, since the Heavy Duty Deck Cleaner loosened up the mold, mildew, algae, and old coating on the deck.  The wood is always much, much lighter in color once it’s cleaned.  NOTE:  If you’ve never used a pressure washer, practice with one before you actually “hit” the deck.  If the pressure is too high, you can badly damage the wood.  You can rent pressure washers at some home improvement chains, or pick one up that is great for home use for around $200.
 
Then Jeff applied the Thompson’s Water Seal Advanced Wood Protector in Nutmeg Brown to the entire deck, benches, table, railings, and the remaining lattice (which hides the underside of the deck), using a paint pad on a long pole.  This works the product in well and eliminates bending (easier on the back!).  He also applied the Advanced to the little fence.   This product protects the surface from water damage, while adding a little sheer color.  That’s especially good as wood ages.  
 
 Once all of that was done he went back through, using a spacer, and installed the balusters all the way around the railings. 
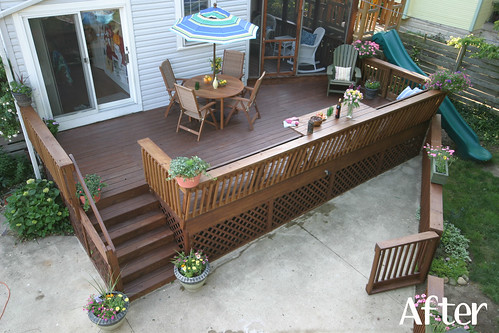
Deck redo


Looks pretty good, don't you think?  Have a project that you'd like to share with us?  Go here to tell us about it.

deb_sig

Tuesday, April 28, 2009

Children's Chairs

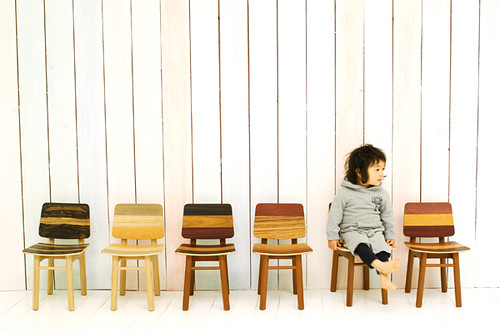
Sometimes it's hard to find children's furniture that doesn't scream that it's for children.  You know, the plastic ones?  These chairs are beautifully crafted and child size and I can't help but love the multi-toned stain on the chairs too!!  I'd love to have these around my house!
Children's Furniture

Chairs from Leif Design Park.


erin_sig

Tuesday, March 31, 2009

Beautiful Dairy House

The Dairy House


This beautiful extension was added on to an existing dairy house and houses 2 bathrooms.  The reflection of light is accomplished by alternating oak and glass.  There is also a sitting pool off the back.  Doesn't this just make you want to take a retreat here?  It's a perfect combination of rustic and serene.

{As seen via Arch Daily}
deb_sig