Showing posts with label art. Show all posts

Wednesday, February 22, 2012

Sandpaper Art

We tried something fun around here yesterday.  Sandpaper Art. My kids really love coloring and I thought it would put a fun spin on their artwork. It was a great opportunity to talk about textures and things that are hot since this craft uses an iron to transfer the image over to the blank piece of paper.

SUPPLIES:


  • Sandpaper

  • Crayons

  • Iron

  • Paper (or a shirt would be fun too!)


INSTRUCTIONS:

  1. Color the entire piece of sandpaper.  Make sure to press hard.  The more coverage, the better.

  2. When complete, place your artwork face-up and the blank piece of paper on top.

  3. Iron for a couple minutes and Voila!


The texture of the end result was a lot of fun.  It also made the sandpaper piece a little different too.  It was a fun experiment and one I'm sure we'll try again!

P.S.  Yes, I have pregnancy brain, but I still know Caden's name.... he's wearing a name tag because they had a substitute in preschool yesterday. :)

Wednesday, February 15, 2012

Kid Craft Center


It's been one of my goals to create a creative area for the kiddos for a long while now.  As much as I love crafting at the kitchen table, I would like the supplies to have a home so clean up is easier.  I also want crafting to be easily accessible to my kids when they feel the need to be creative. I purchased a sorts of different size containers from The Container Store.  Specifically, the 500ml and 750 ml of the screw top storers and the round cracker containers for tall items like the colored pencils and pipe cleaners.

I have big dreams for the craft center and hope it will grow into a great hang out station for both my children.  This corner of the house is dedicated to them, and I'm sure it will evolve over time.  So just know this is a beginning, and though it seems really small and dinky, my children love hanging out here.  It has become quite the hot spot in the house.


Off to the side of this area, there are mounds of paper for them to start their craft if they choose.  I also have much of our light table items and colored rice over to the side as well.  I'm still organizing everything, and I know I will figure out a better system.


If you're curious, these are the craft supplies we have:


  • Stickers

  • Crayons (chubby & regular)

  • Art Supplies - water color, paint brushes, glue sticks

  • Markers

  • Balloons

  • Colored Pencils

  • Tissue paper

  • Beads

  • Pom Poms

  • Feathers

  • Wooden Clothespins

  • Craft Sticks

  • Pipe Cleaners

  • Glitter Glue

  • Foam Stickers

  • Ribbon and String


You can find most of these items in here, including the table we purchased.  (Affiliate Link)

These items are all easily accessible for Caden.  Porter is learning to use a chair to get down an item and bringing it over to me to help him get the lid off.  It's been fun to see what they've created so far.  I love seeing their imaginations run wild.

Tuesday, January 31, 2012

Winter Window Play

Some of the simplest things can be the most entertaining for my children.  One of their favorite pass times in the cool temperatures is to make window art. 

It's also one of mine because the clean up is so easy.

I'm over at All for the Boys taking about another winter activity.... playing with snow inside.  I can't say the clean up is this easy, but the activity is a blast.  Go on over and check it out!  And while you're at it, peek around her blog.  She has endless activities for boys.

Tuesday, January 03, 2012

Happy New Year!


Hello there!  I'm back from an unexpected break.  It felt so good to hang out with the family and take a break from the computer for a couple weeks.  How are you?  Did you have a good holiday?  We've been playing with our new toys and enjoying each others company.


Caden received these neat dinosaur stencils and rub-on plates from his cousins.  I didn't know if he'd quite grasp the concept, but once they were out of the box and I showed them how they worked, he spent hours making drawings. I love it when he picks things up faster than I give him credit for.


Such a budding artist, don't you think?  :)  What have you been up to?  Anything unexpected over the holidays?

Friday, December 16, 2011

Rice Art


Caden is really into spelling his and everyone's name lately.  Usually he writes them all by himself and the letters are in reverse.  So Caden is spelled NEDAC.  Cute, huh?


For some reason he was a little scared of the glue today.  Not sure why.  He usually wants to cover an entire sheet of paper with glue.  So I helped him.  Not sure if that was the right thing to do.  I'm no education expert.  I probably should have crafted my own page right beside him. I know teaching them to do things by themselves is important at this age and I shouldn't just swoop in and say, okay, I'll do it for you.

What would you have done?

Wednesday, August 10, 2011

Geometric Shapes


I'm loving these necklaces.  They reminded me of these photo collages I spotted on Design For Mankind earlier this week.


|Necklaces by Iacoli & McAllister via Fab.com, photo collages by Catherine Soto via Design For Mankind|

P.S.  If you don't subscribe to Fab.com, you totally should.  Cool stuff at discounts and only one email a day.

Tuesday, March 29, 2011

Furniture in Design

I'm loving the trend lately of featuring furniture pieces in art or other made objects!  I guess you could say I'm a furniture junkie!


Vintage Chair Prints


I Like to Rock Poster featuring the Eames Rocker.


Have a Seat Pillow


Tuesday, August 03, 2010

Handmade Art from sarah & bendrix

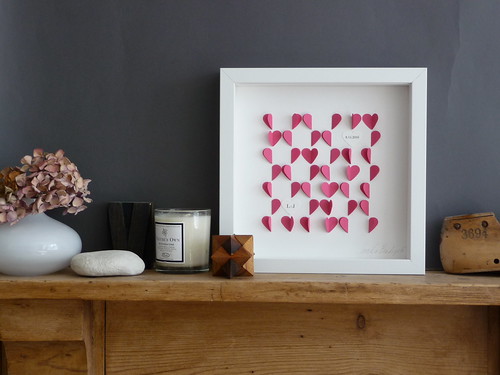
Today I'm loving these little handmade works of art from sarah & bendrix.  Simple and sweet!

sarah & bendrix


sarah & bendrix


Wednesday, June 09, 2010

Minimalist Lighting

Niche Modern lighting is all about the handmade.  Each of their light fixtures is handmade while the glass is hand-blown.  They are absolutely gorgeous!


Monday, April 12, 2010

Monday Tutorial: DIY Painting Techniques

Happy Monday everyone!  We are switching things up on Fresh Nest today and giving you a little DIY inspiration.

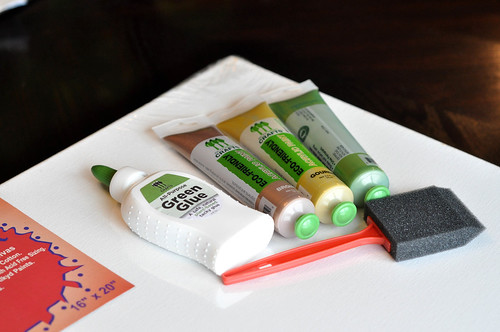
We are in the process of redoing our bedroom and while I was at the CHA winter show, I saw a great presentation by EcoGreen Crafts about their paints and different ways to texturize while using their paints.  They gave me a few products to play with at home, and I had about an hour to play the other day so I figured I'd give it a try on blank canvases I purchased.

Using Glue as Texture

Note: I used their wonderful glue that is eco-friendly {and edible!}, but you can use any glue you'd like when doing this technique.

Supplies:


  • Painting Surface {I used canvas, but their paints work on any surface-- even wood!}

  • Glue

  • Paint Brush

  • Cloth or Napkin

  • Sealer {like this}


Painting with Glue


Painting with Glue


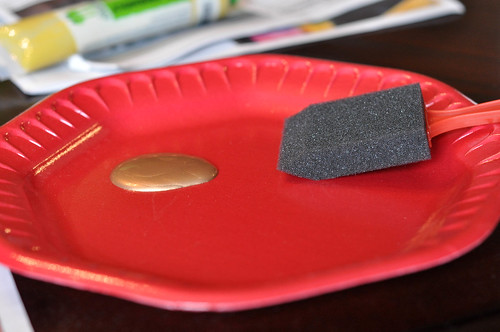
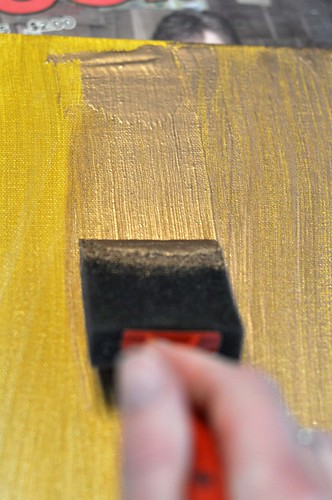
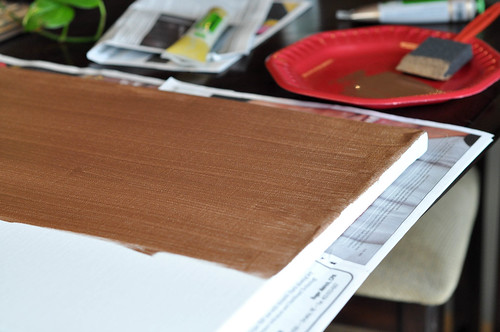
I started by painted my entire canvas with the bronze paint.  Look at that color!  Amazing, huh?

Painting with Glue


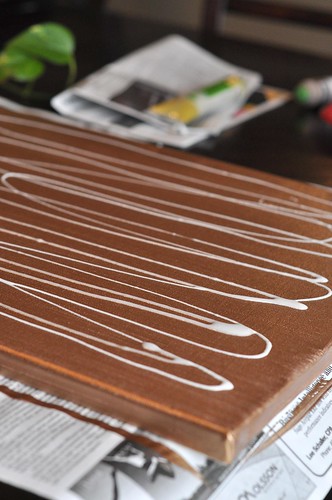
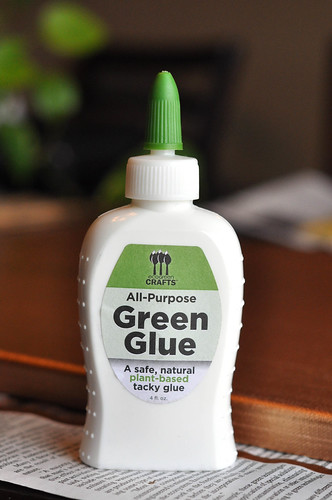
Then I took the glue and spread it around the canvas on top of the bronze coat.

Painting with Glue


Painting with Glue


Painting with Glue


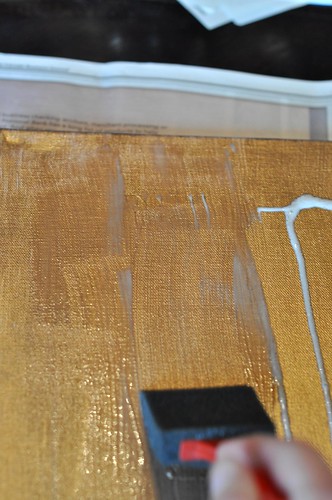
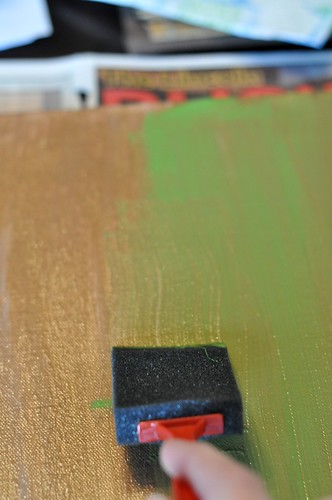
Then I painted a layer of New Grass over the glue.

Painting with Glue


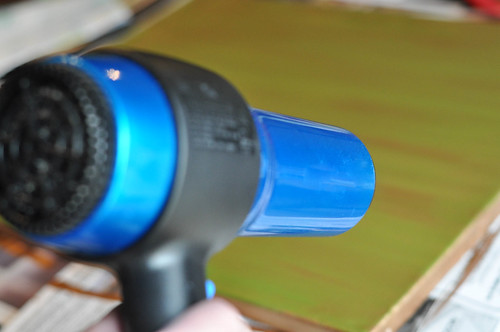
I wasn't patient enough to let it dry so I pushed the drying time along with my hair dyer.

Painting with Glue


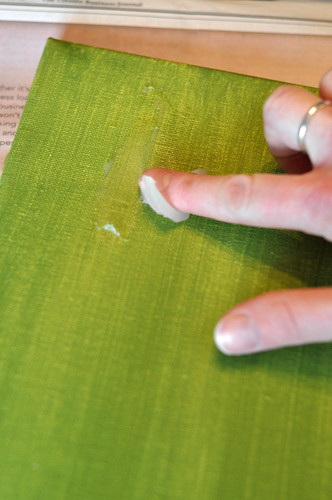
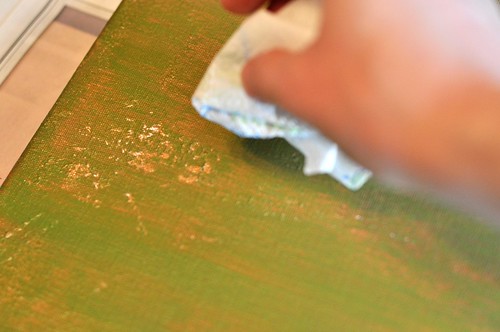
After it appeared dry, I took my cloth and wiped away areas of the paint.  It should appear a little crackled.

Painting with Glue


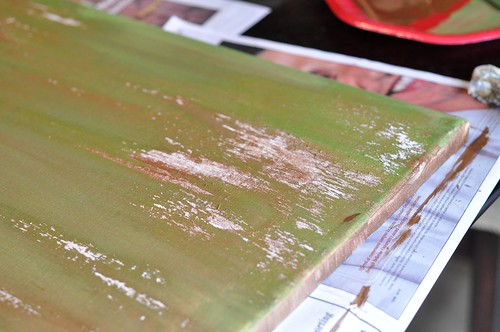
I like the antique and worn look that it gives the painting.  However, I wish there wasn't as much white showing through.  I think next time I need to be more patient and let it dry a little more.

Painting with Glue


Once you are happy with the final result, spray some sealer on the painting and you will be good to go!


Using Vaseline as Texture


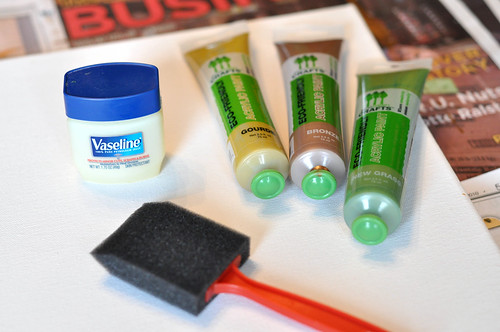
You will use the same supplies as above, but trade out the glue for Vaseline.


Painting with Vaseline


This time I painted the canvas with New Grass and Gourde.  Beautiful colors right?
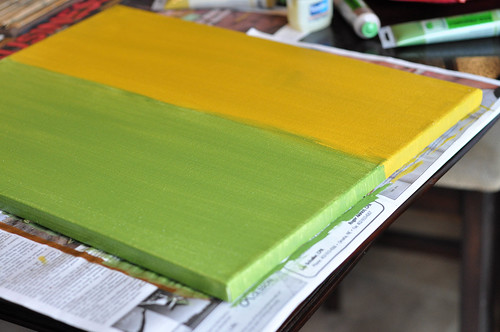

Painting with Vaseline


Then I took the Vaseline and spread it around the canvas.
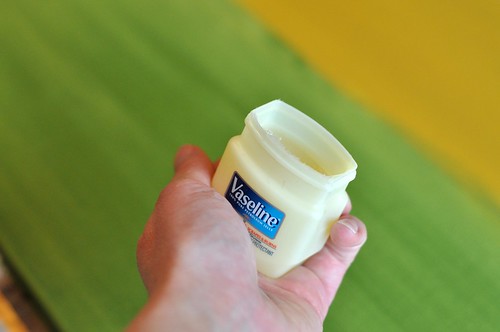

Painting with Vaseline


Painting with Vaseline


Painting with Vaseline


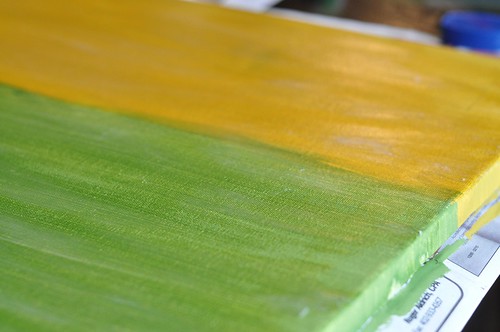
I painted the top layer Bronze.


Painting with Vaseline


I let it dry for a little bit, and pushed it along with the hair dryer again.  In the areas with a lot of Vaseline, it will never fully dry as those are the areas that you work at with your cloth.  {Like in the Glue example}.
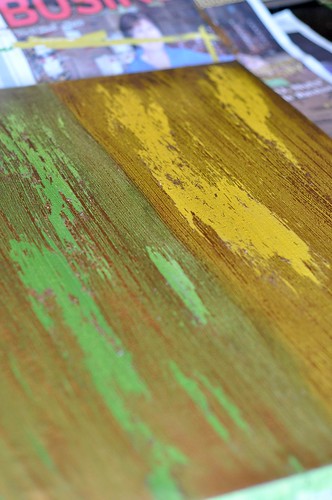

Painting with Vaseline


Then seal the painting and it's ready to be hung on your walls!


This was one of the easiest DIY paintings I have ever done and it only took me about 30 minutes to do both of these.  I love the colors of the painting, but too bad the colors don't quite work with our bedroom so I will have to think of somewhere else to put them.


So what do you think?