
Need a quick and easy piece of wall art? {And inexpensive too!} Here are the step by step instructions:
Materials needed:
- Piece of large scale fabric- with a large scale print {(mine was about 40" x 44"}
- Heavy duty Stapler
- 4 pieces of wood and a drill {or buy the regular canvas stretcher bars like these - you can find them at most art supply stores}
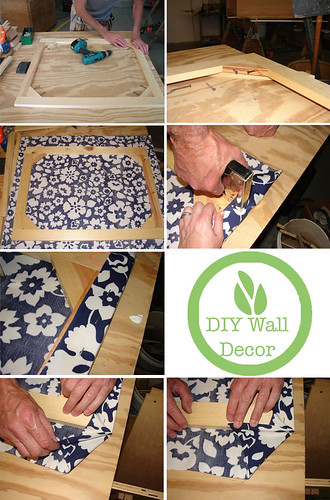
Step by Step instructions:
- Put your wooden frame together. We used a drill to place triangle braces on the corners of the frame. If you are using canvas stretcher bars instead, they will interlock and the only tool you will need for this project is a heavy duty stapler.
- Lay the fabric face down with the frame on top {make sure you iron it first}. Position the fabric and make sure it's straight before you start stapling. Allow for a couple inches of fabrics on each side of the frame. {My frame ended up being 32"x 36"}. Pull the fabric up and over your frame and start stapling.
- For the corners, I wrapped it like a present. Before I stapled it down, I made sure it looked okay from the front.
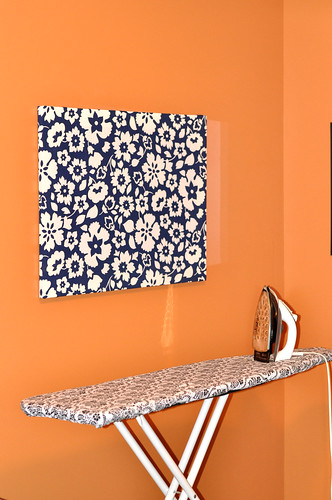
- Attach a picture hanger on the back, and it's ready to hang.
The cost of this project is very minimal, and it's a very easy wall decor project. Now I have something fun to look at when I'm ironing.


2 comments:
so I want to do a collage type thing of these above my kitchen window instead of a standard window treatment - can you get them in 4 or 6 inch squares?
They are offered in a variety of sizes, but if they don't have them in 4-6 inch squares, you could always buy a 5x5 inch wooden frame and wrap your fabric around that. Hope that helps and let us know how your kitchen window turns out!
Post a Comment