I was busy the other day making over the top of our cabinets and countertops. It was started too look a little too cluttered. Here's the before:
And here's the after:

Little things like this can make such a difference!


I was busy the other day making over the top of our cabinets and countertops. It was started too look a little too cluttered. Here's the before:
And here's the after:
Little things like this can make such a difference!

Remember our Rezi List? We are working hard at crossing things off it as quickly as we can. This weekend, we tackled the kitchen sink. Here's what it looked like before we started.
See the tainted faucet? I got a little over zealous in cleaning the faucet by using a harsh cleaner (that was after this cleaning). It not only ruined the faucet, but it left our stainless steel sink looking streaky. As if the sink weren't hard enough to keep looking clean! So we decided to get a new sink that was bigger and better than what we had.


Then, before we even started looking, my parents redid their entire kitchen. Top to bottom. They had a great looking sink that was in mint condition that they wanted to get rid of. We told them we could easily take it off their hands. And that's just what we did. All we had to do was switch out the drains and we were good to go. {Side note: my parents are not fans of having a garbage disposal so we had to swap out one of their drains for our existing garbage disposal.}
So my husband and brother-in-law worked as hard as they could to loosen the existing drains. After using about every special tool in their bucket, and a trip into town later, this is what we were left with.


It broke right in half. Unfortunately the stubborn drain wouldn't come free. We're not quite sure why as our stainless steel sink was a piece of cake to work on. So, another "quick" trip into town to pick out a sink and this is the end result.

A beautiful deep sink with a nice new faucet. Did you notice the matching soap dispenser too? We love our new sink.... even if things didn't quite go as expected!
I've had these little clear storage containers for my main baking ingredients forever. (Well, not quite forever, but at least 6 years.) I decided it was either time to replace them entirely or try to spruce them up. I washed them all down so they were sparkly clean and then got to work cutting some adhesive backed vinyl with my Cricut. Here's the finished product:

Now every time I open my cupboards I smile just a little. If you don't have a Cricut, use some stickers or rub-ons to add a little something special to your boring storage containers. I promise, you'll like it! (You'll have to forgive the low amount of sugar...I was busy making these Chocolate Surprise Cookies.)
Happy Weekend everyone!
I grew up with a spotless home. My mother was very good about keeping everything in tip-top shape. I picked up quite a few pointers from her, but dealing with hard water stains was something I didn't know anything about.
If you have hard water, you've more than likely have seen stains appear in your bathroom or kitchen where there is a water source. The minerals from the hard water build up over time, and are not easily scrubbed off. I've found the best cleaner at attacking hard water stains is vinegar.
Here is my kitchen sink faucet before I started cleaning.

Yikes, huh?!


Totty and Dave sent over their most recent transformations of their home. It all started out in the bathroom. They purchased the house about 5 years ago, and remodeled the bathroom shortly after moving in. Unfortunately, they hired a bad tile worker, and ended up having to redo the entire bathroom a couple years later. Here is a before picture of the bathroom- this is what it looked like when they moved in.

And the after pictures:


And the after pictures:


I love the shelving underneath the cabinets, and the beautiful wood floors. Isn't it an amazing transformation? You can view more pictures and details over on their blog. Thanks so much for sharing, Totty and Dave!
I've been in the process of de-cluttering my kitchen. I wanted to try to keep my counter top clean, since our current kitchen has no counter space. I decided I needed to get rid of the huge container that had been sitting on my counter that held pretty much every utensil I had. Whisks of various sizes, pasta forks, spatulas, stirring spoons, and everything else all shared the same container. It was getting super crowded and I don't use those things all the time so I dumped the entire contents into one of the drawers... better already. Only problem was, a few of the items I use at almost every meal. I decided I needed a smaller container that I could leave out that would just hold a couple of items. The problem with a smaller container is that when I put the utensils in, the entire container would tip over. After some trial and error my solution was that I needed a medium sized container with some type of filler to keep my utensils from tipping and falling out. My solution?
Combine a $1 decorative ceramic pot from IKEA:
A bag of nice decorative rocks:
Add the few utensils I use all the time:
Much better! Nice, clean, and organized!
Kitchens play a major part in every house. Plenty of time is spent in the kitchen, and many memories are made there too. Here are some of my favorite kitchens, all of them calm, serene, and inviting:
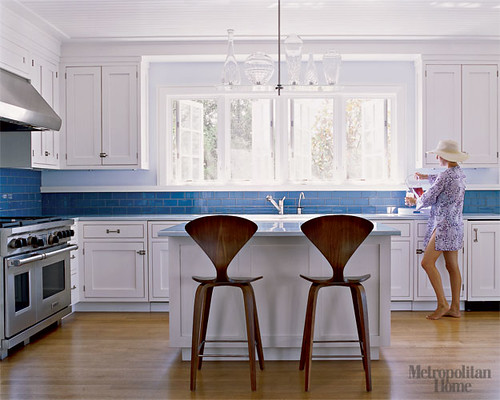
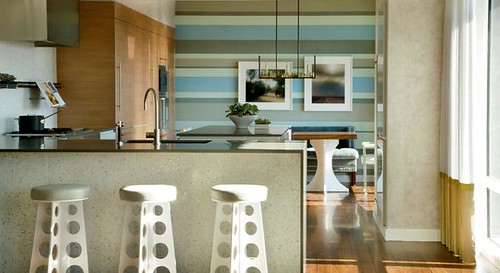
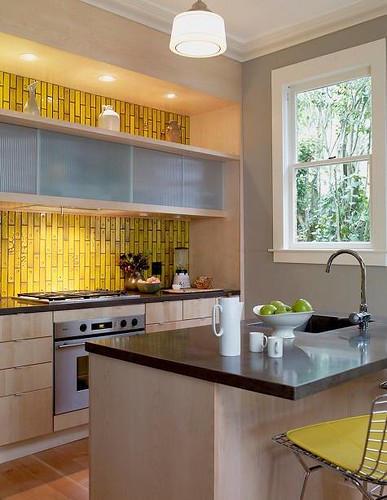
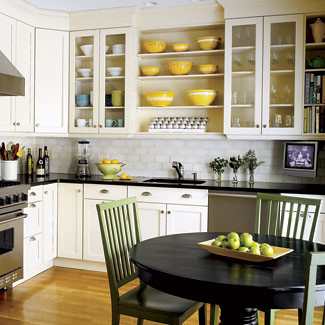 {Click on the images to take you to the source.}
This is something that's always been on my list of When we Build A house I want this:


This is the CookCook fireplace from Reugg

We loving receiving before and after in our inbox. They are so fun and inspiring. Scott and his wife, Leyla have been busy remodeling their 1910 Victorian home since 2006. Can you imagine the dust now?! I think the transformation is so wonderful! It's so clean and crisp! I don't think I would have a problem baking in this kitchen.
Do you have a project you're working on that you'd like to share? Send them over to us at admin AT freshnestdesign DOT com.
Katie and her husband are in Germany. They have an apartment and a 36 sq. ft. kitchen that they finished the remodel on last year. Can you believe how different it looks now?

Small spaces can seem challenging to design so I'd like to give a few general tips today that might help you expand your small space.
General tips:

{via Apartment Therapy}

{via Apartment Therapy}

Image from xJavierx
Don't you just love how clean and bright this kitchen feels. And I love how the cabinets are painted green inside! What a nice surprise. (And I bet you didn't even realize that the kitchen floor is painted too.)

Image from SarahLeeab
Love the mixture of the blue and red. Looks fabulous!
Whitney is someone with a very fresh style. It shows through in both her graphics work and her home! Recently she did a little project with some yard sale fabric she got. (You can read more about her project here.)
 Her Before Picture.
You can see here that her upper cabinets have fabric, but it's green and no longer matches the lovely blue she painted her kitchen.

Her After Picture.
It matches now! She made some new ones from inexpensive fabric she got at a yard sale. I love that not only does it coordinate now, but the pattern provides some visual interest to the kitchen!
Awesome job Whitney!



 Posts
All Comments
Posts
All Comments


