
Happy Monday everyone! We are switching things up on Fresh Nest today and giving you a little DIY inspiration.
We are in the process of redoing our bedroom and while I was at the CHA winter show, I saw a great presentation by EcoGreen Crafts about their paints and different ways to texturize while using their paints. They gave me a few products to play with at home, and I had about an hour to play the other day so I figured I'd give it a try on blank canvases I purchased.
Using Glue as Texture
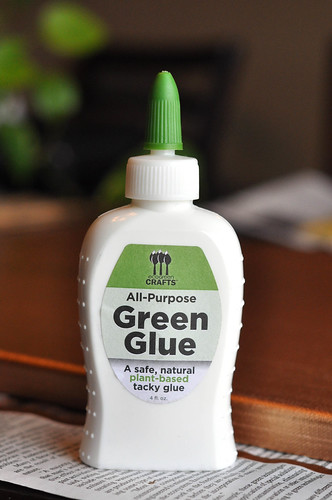
Note: I used their wonderful glue that is eco-friendly {and edible!}, but you can use any glue you'd like when doing this technique.
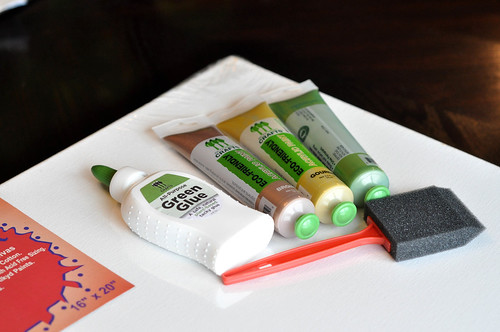
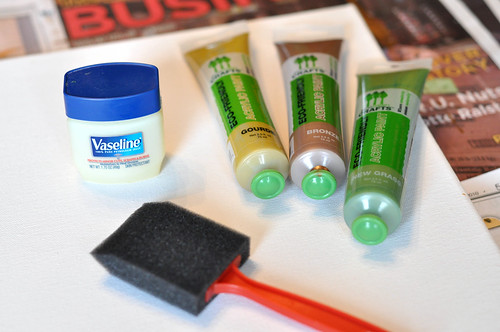
Supplies:
- Painting Surface {I used canvas, but their paints work on any surface-- even wood!}
- Glue
- Paint Brush
- Cloth or Napkin
- Sealer {like this}
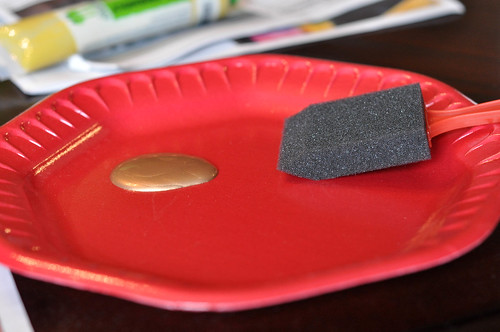
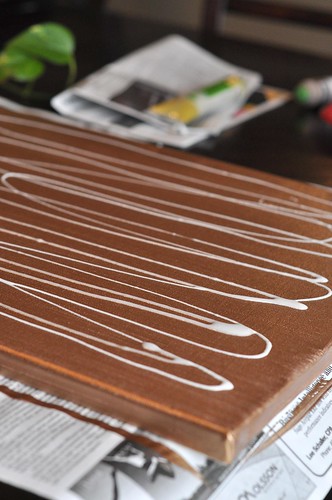
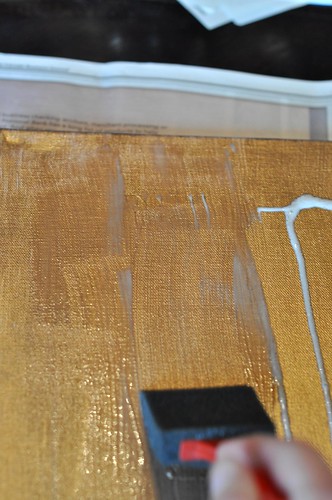
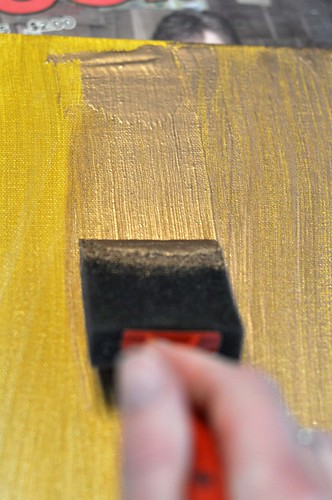
I started by painted my entire canvas with the bronze paint. Look at that color! Amazing, huh?

Then I took the glue and spread it around the canvas on top of the bronze coat.
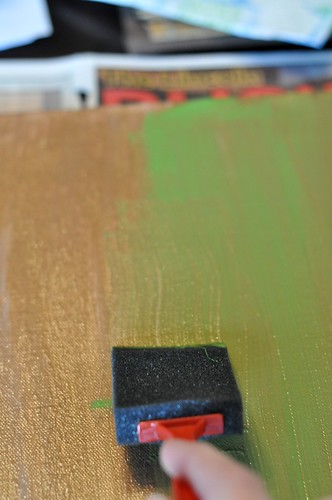
Then I painted a layer of New Grass over the glue.
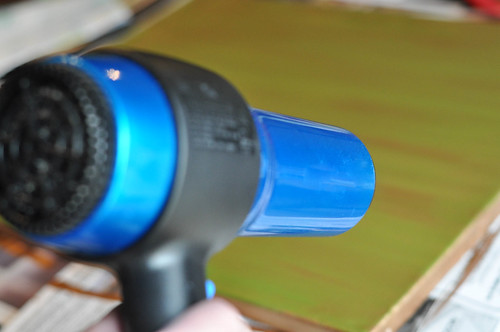
I wasn't patient enough to let it dry so I pushed the drying time along with my hair dyer.
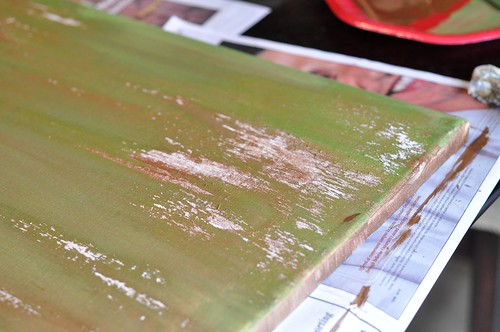
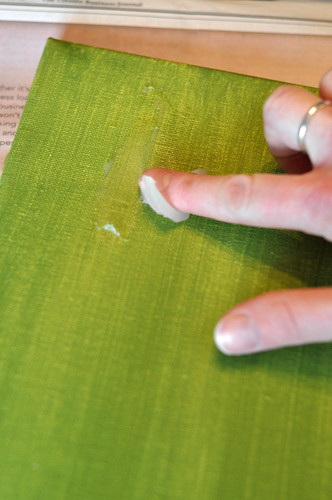
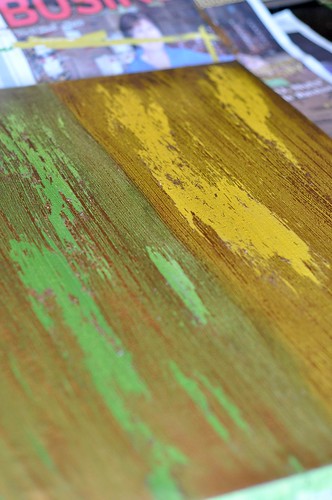
After it appeared dry, I took my cloth and wiped away areas of the paint. It should appear a little crackled.
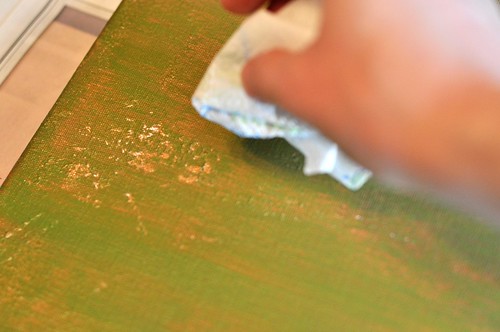
I like the antique and worn look that it gives the painting. However, I wish there wasn't as much white showing through. I think next time I need to be more patient and let it dry a little more.
Once you are happy with the final result, spray some sealer on the painting and you will be good to go!
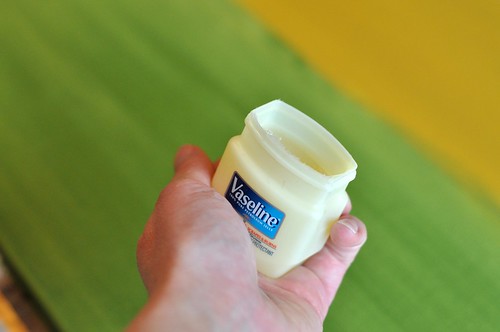
Using Vaseline as Texture
You will use the same supplies as above, but trade out the glue for Vaseline.
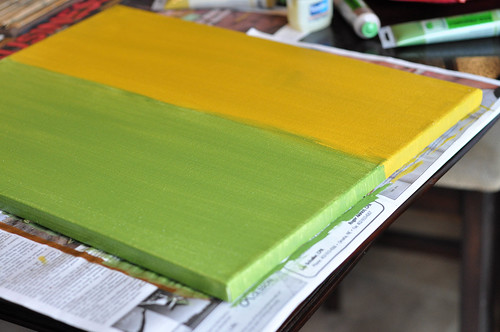
This time I painted the canvas with New Grass and Gourde. Beautiful colors right?
Then I took the Vaseline and spread it around the canvas.
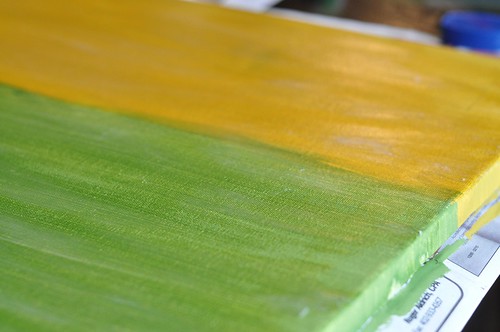
I painted the top layer Bronze.
I let it dry for a little bit, and pushed it along with the hair dryer again. In the areas with a lot of Vaseline, it will never fully dry as those are the areas that you work at with your cloth. {Like in the Glue example}.
Then seal the painting and it's ready to be hung on your walls!
This was one of the easiest DIY paintings I have ever done and it only took me about 30 minutes to do both of these. I love the colors of the painting, but too bad the colors don't quite work with our bedroom so I will have to think of somewhere else to put them.
So what do you think?


2 comments:
I'm pretty sure those would look great in my house. You know, if you really need a place for them. ;)
Hi there - love the painting solutions. I may use some of them in my problem living room. which I posted about here.
http://www.northdixiedesigns.com/2010/04/autism-awareness-designers-of-america.html
:-)
Dixie
Post a Comment